What Exactly is Slurry Coating?
Alright, let's talk about slurry coating. You've probably heard of sealcoating, and slurry coating is kind of like its tougher, more substantial cousin. Think of it as a protective layer for your asphalt driveway, but it's thicker than a typical sealcoat. It's a mix of asphalt emulsion, fine aggregates (like sand), water, and some other additives. When it goes down, it fills in those small cracks and voids, smooths out minor imperfections, and gives your driveway a fresh, uniform black appearance. It's not just about looks, though; it really extends the life of your asphalt by protecting it from the elements – sun, rain, and those freezing winter nights we get here in Woodinville.
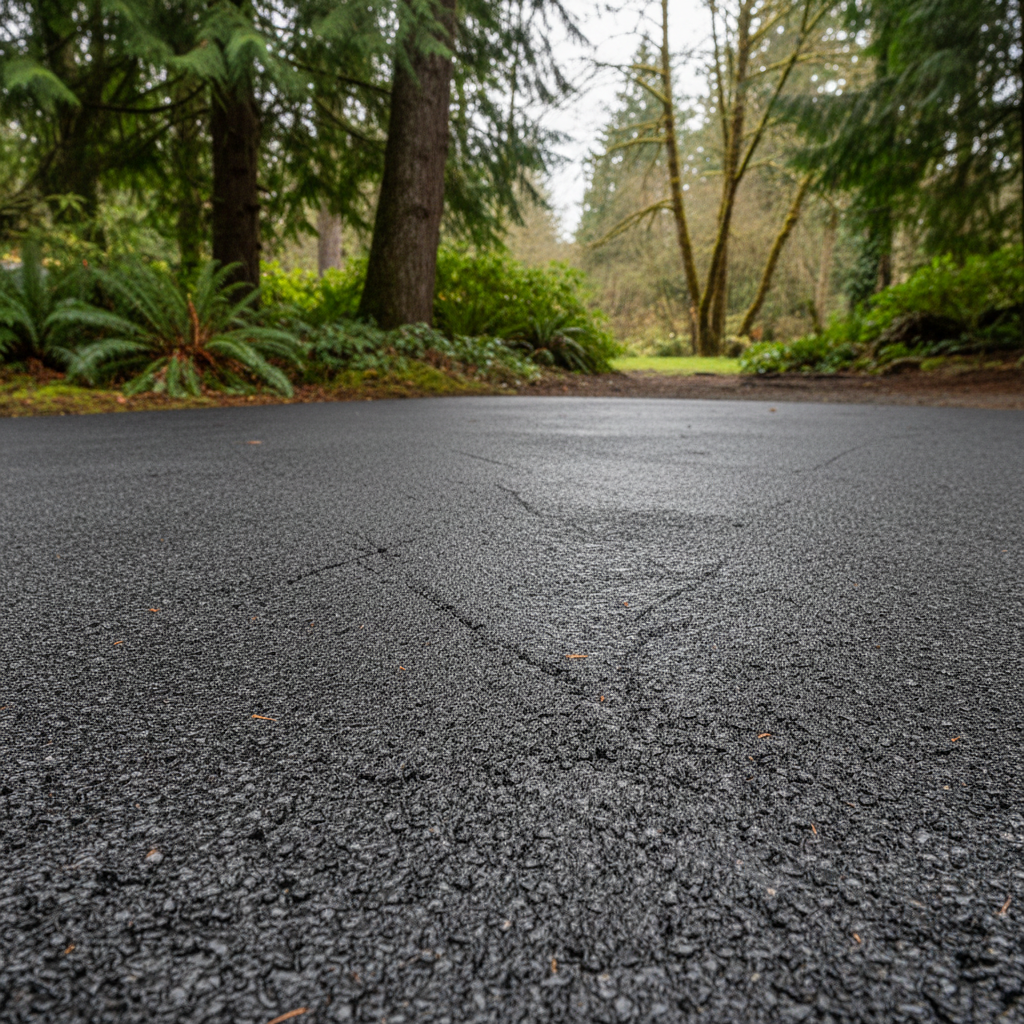
Before You Even Think About It: Prep is Key
Seriously, I can't stress this enough. The success of any slurry coating job, whether you do it or I do it, comes down to the prep work. You wouldn't paint a dirty wall, right? Same principle here.
- Clean, Clean, Clean: Get that driveway spotless. Sweep off all loose debris, leaves, dirt, everything. Then, power wash it. You want to remove any oil stains, moss, or grime. If you've got stubborn oil spots, you'll need a degreaser and a good scrub brush. Rinse thoroughly and let it dry completely.
- Weed Patrol: Any weeds growing in cracks? Pull 'em out. Don't just spray them; get the roots. If you leave them, they'll just grow back through your new coating.
- Crack Repair: This is crucial. Slurry coating isn't a miracle worker for big cracks. Any cracks wider than about a quarter-inch need to be filled with a proper crack filler *before* you apply the slurry. Follow the crack filler's instructions for application and drying time. Don't skip this step, or your slurry coating won't last.
- Edge Protection: Protect anything you don't want coated. Use painter's tape and plastic sheeting for garage doors, concrete borders, or landscaping. You'll thank yourself later when you're not trying to scrape black goo off your garage door.
DIY Slurry Coating: What You Can Realistically Do
For smaller, relatively new driveways with minimal damage, a DIY slurry coating job is definitely doable. You'll find kits at home improvement stores. Here's what you're looking at:
- Mixing: The kits come with instructions. Follow them precisely. You'll need a large bucket and a heavy-duty drill with a mixing paddle to get a consistent consistency. It's thicker than paint, so be ready for some arm work.
- Application: You typically apply slurry with a squeegee or a specialized applicator brush. Work in small sections, spreading the material evenly. You want a consistent, thin coat. Don't glob it on, or it won't cure properly and could peel. Overlapping slightly is fine to ensure full coverage.
- Drying Time: This is where patience comes in. Most products recommend staying off the driveway for at least 24-48 hours, sometimes longer depending on temperature and humidity. Don't rush it. Driving on it too soon will mess up all your hard work.
The biggest challenge for DIYers is getting an even coat and managing the material before it starts to set. It's a race against the clock sometimes, especially on a warm day.
When to Call a Pro (Like Top Notch Asphalt)
Look, I'm all for saving a buck, but some jobs are just better left to the folks who do it every day. Here's when you should definitely consider calling a professional:
- Large Driveways: If your driveway is huge, covering a big area like many properties in the Hollywood Hill area, doing it yourself is going to be a massive undertaking. Professionals have the right equipment to mix and apply large quantities efficiently and evenly.
- Significant Damage: If your driveway has extensive cracking, potholes, or major unevenness, it needs more than just a slurry coat. It might require patching, extensive crack filling, or even a partial overlay before coating. A pro can assess the damage properly and recommend the right course of action.
- Time Constraints: Don't have a weekend (or two) to dedicate to prep, application, and drying? We do.
- Uneven Surfaces: If your asphalt is really worn down in spots, getting a smooth, consistent finish with a squeegee is tough. Pros have techniques and tools to handle these variations better.
- Guaranteed Work: When you hire Top Notch Asphalt, you're getting experienced folks who stand by their work. If something goes wrong, we'll fix it. You don't get that guarantee with a DIY kit.
After the Slurry Coating is Down
Once your driveway is coated and fully cured, you still need to treat it right. Avoid turning your wheels sharply while stationary, especially when it's hot out, as this can scuff the new surface. Keep it clean, and address any new cracks or oil spills quickly. A well-maintained slurry coat can last you several years, protecting your investment and keeping your property looking sharp.
Ultimately, whether you DIY or hire a pro, a slurry coat is a smart move for extending the life of your asphalt. Just make sure you understand the scope of the work and what's involved.